Crafting a powerful GitHub landing page can transform how others perceive your work. It is often the first impression potential collaborators and recruiters have.
A visually appealing landing page communicates professionalism and commitment to your craft. Clear structure and compelling visuals highlight your strongest projects.
Attention spans online are shorter than ever, so your page must capture interest quickly. A mix of design, concise text, and relevant links makes this easier.
Developers who showcase their work well often attract more opportunities. Strategic presentation helps your repositories feel like polished case studies.
Consistency in design across your page builds trust. Simple colors, a readable font, and direct calls-to-action encourage viewers to engage with your work.
Your GitHub landing page is not just about code. It is about telling a story that resonates and persuades others to collaborate, hire, or learn from you.
"Struggling to create a professional first impression?
Download our free guide & transform your GitHub presence today."
Table of Contents
- Why Use GitHub Pages For Your Landing Page?
- Setting Up Your GitHub Repository
- Choosing a GitHub Pages Theme
- Customizing Your GitHub Landing Page
- Publishing Your GitHub Landing Page
- Best Practices For Designing an Effective Landing Page
1. Why Use GitHub Pages For Your Landing Page?

Free and Hassle-Free Hosting
GitHub Pages provides free, reliable hosting for your project’s landing page without the need for additional hosting services or configuration.
Easy Setup & Deployment
With GitHub Pages, deploying your landing page is a straightforward process that takes only a few minutes.
Ideal For Open Source & Personal Projects
GitHub Pages is perfect for open-source projects, portfolios, or technical documentation, offering seamless integration with GitHub repositories.
SEO Benefits
GitHub Pages are optimized for search engines, helping your project rank higher in search results, increasing visibility, and attracting more visitors.
2. Setting Up Your GitHub Repository

Create a New Repository
- Log into your GitHub account.
- Click the “+” icon at the top right and select New Repository.
- Name your repository something like
username.github.io(replaceusernamewith your GitHub username). - Select the visibility (Public or Private) as per your needs.
- Click Create Repository.
Enable GitHub Pages
- Navigate to the Settings tab of your newly created repository.
- Scroll down to the GitHub Pages section.
- In the Source dropdown, select the branch you wish to deploy from (
mainormastertypically). - Save the settings. Your GitHub landing page is now live and accessible via
https://username.github.io/repository-name.
3. Choosing a GitHub Pages Theme
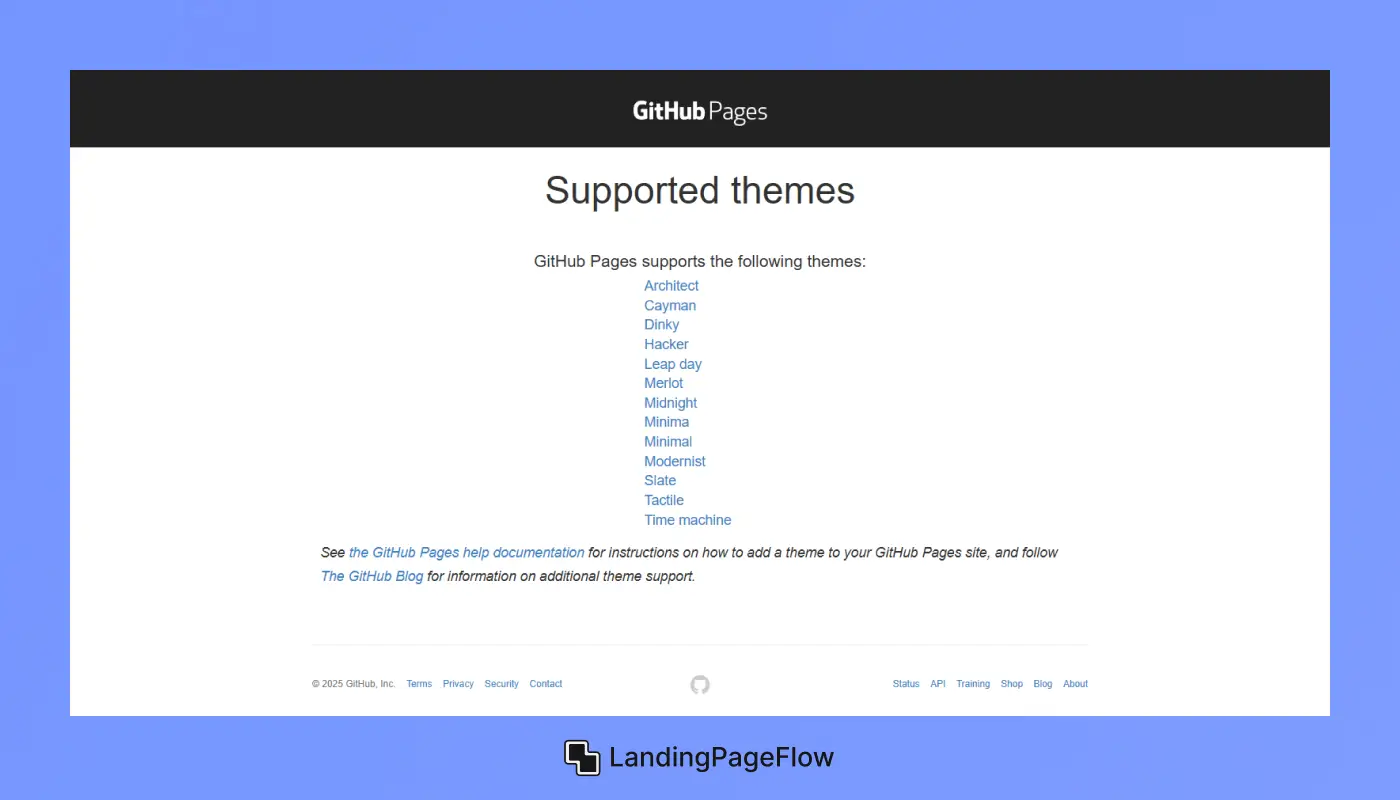
Popular GitHub Pages Themes
- Minimal Mistakes: A versatile theme suitable for portfolios, technical documentation, and blogs.
- Hyde: A clean, modern Jekyll theme designed for simple, elegant project showcases.
- Portfolio: A sleek, modern theme perfect for showcasing personal or team projects with a professional look.
- So Simple: A minimalistic theme that focuses on clean design and functionality.
Steps to Apply a Theme
- Visit the GitHub Pages Themes Repository.
- Fork or clone a theme that aligns with your project.
- Customize the
index.html,_config.yml, and other relevant files. - Push your changes, and your page will be updated with the new theme.
4. Customizing Your GitHub Landing Page

Edit the README.md File
- Project Title & Description: Clearly state what your project is about and what it offers.
- Features: Highlight key functionalities, features, or unique selling points.
- Usage Instructions: Provide clear, concise instructions on how others can install, use, or contribute to your project.
- Screenshots & Media: Add images, GIFs, videos, or logos to visually showcase your project.
Edit _config.yml (if using Jekyll)
- Customize elements like site title, description, colors, and layout.
Add Visual Elements & Media
- Images: Use high-quality visuals to enhance your page’s appeal.
- Videos/GIFs: Showcase key features through videos or animated GIFs.
- Icons: Use icons for better visual representation and branding consistency.
5. Publishing Your GitHub Landing Page

Steps to Publish
- Commit your changes to the repository.
- Push the changes (using
git push origin main). - Visit your GitHub Pages URL (
https://username.github.io/repository-name). - Your GitHub landing page is now live and ready for visitors.
6. Best Practices For Designing an Effective Landing Page
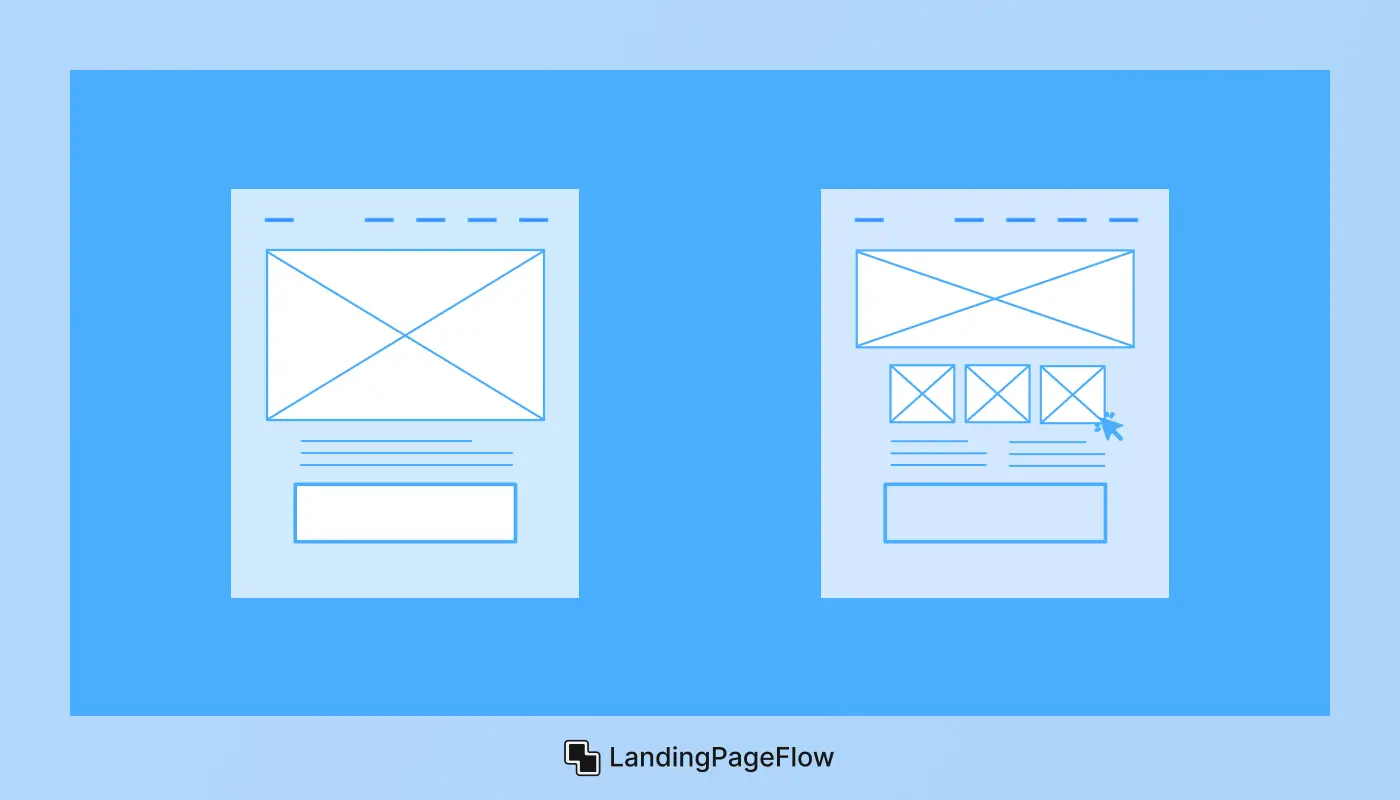
Clean, Minimal Design
- Use plenty of whitespace to create a clutter-free experience.
- A clean and minimal design helps visitors focus on the key elements.
Mobile Responsiveness
- Ensure your page is mobile-friendly for a seamless experience across devices.
- Test the page on various devices.
Clear & Concise Content
- Keep content simple and easy to understand, especially for non-technical users.
- Avoid excessive jargon and provide clear instructions.
Engaging Calls-to-Action (CTAs)
- Use CTAs like “Star this Repository,” “Fork the Project,” or “Contribute Now” prominently.
- Encourage engagement and conversions.
SEO Optimization
- Use relevant keywords in your project title, description, and metadata.
- Tag your repository with the right categories to improve search engine visibility.
Conclusion
A strong GitHub landing page can open doors to exciting collaborations and career opportunities. It works as your digital showcase for skills and creativity.
Clarity, aesthetics, and storytelling combine to make your profile memorable. Each element should invite visitors to explore further instead of just scrolling past.
Making a lasting impact is about more than flashy visuals. Strategic content placement and usability help ensure visitors find what they need quickly.
Professionals who invest in well-designed GitHub landing pages often notice stronger networks. The difference lies in how they guide visitors to key actions.
Your work deserves a platform that highlights its full potential. By refining the design of your landing page, you give your projects the attention they deserve. Small tweaks made today can yield long-term visibility.
The right page not only displays your repositories but also elevates your professional brand significantly.

FAQ
1. Why should I create a GitHub landing page?
A GitHub landing page helps present your work professionally, making it easier for recruiters, collaborators, and potential clients to notice your skills.
2. How long does it take to build a GitHub landing page?
Using templates or simple tools, you can create a page in minutes. A polished design might take longer but delivers a stronger impact.
3. Do I need coding skills to make one?
Basic coding knowledge helps, but many tools and generators let you build visually appealing landing pages without advanced technical expertise.
4. What should I include on my GitHub landing page?
Highlight your top repositories, add a short bio, include visuals if possible, and provide links to your portfolio, LinkedIn, or personal website.
5. Can a landing page really help in job hunting?
Yes, it demonstrates initiative, design awareness, and the ability to present technical projects in a clear, engaging format to potential employers.
6. How do I make my page stand out?
Focus on simplicity, readability, and relevance. Adding personal branding elements, professional colors, and a strong CTA makes your page more memorable.

Altaf Rahman


.webp)